Terraria Server on Linux... Is It Possible?

Terraria. A game that might not catch your eye initially but eventually consumes hundreds, if not thousands, of hours. At some point, you might want to set up a server to play with friends. Setting it up on Windows is straightforward, but what do you do when you have a Dedicated Server running Linux?
Why a Dedicated Server

The easiest way to set up a server is on your PC with a single click. I won't go into details here as it's not the purpose of this post. The reason it’s not the focus is that, although this method is easy, it has some significant limitations.
The main issue is that the server exists only as long as your computer is on. If you need to restart or play something else, your friends lose access automatically.
Another problem is your IP address. Unless you’ve opted for a static IP from your provider (which usually costs extra), every time you reboot your router or lose power, whenever your router needs to reconnect to the provider, your IP address changes. Therefore, you'll need to provide the new IP to your friends every time.
For these reasons, most people use dedicated servers, and the vast majority use Linux, primarily RHEL and CentOS.
What’s the Big Deal
You might wonder why someone would write an article on setting up a Terraria server on Linux. The issue is that Terraria is written in C#, a Microsoft language that uses .NET libraries. This makes it impossible to run Terraria on Linux natively.

Here’s where Mono comes in. Mono is a .NET emulator for Linux that allows .NET programs to run. However, since Terraria-Server.exe, the official server, has specific requirements that Mono cannot meet, you need to download TShock to set up the server.
Installing Mono
Installing Mono can be easy on newer systems, but on older ones, you might need to build it from scratch.
For this reason, I will show you how to install it via build, as it works for both cases. Depending on your hardware, this process can take from 20 minutes to an hour. If you want to avoid all the hassle, you can try the command:
yum install mono
The above command works on Redhat-based distros (RHEL, Fedora, CentOS).

Since Redhat-based distros are more common in the server world, this guide is written for them. However, with a quick search, you can find the equivalent commands for your own distro. For example, on Debian/Ubuntu, the command is:
sudo apt-get install mono
Next, we need to install some prerequisites for building Mono:
yum install git autoconf libtool automake build-essential gettext gcc-c++
Then, we’ll clone the Mono repo from GitHub. For convenience, we’ll create a folder in the Home directory where the files will be stored with the command:
mkdir /home/mono
To enter the folder, type:
cd /home/mono
And finally, clone the repo:
git clone git://github.com/mono/mono.git
Enter the newly created folder:
cd mono
And run the command:
./autogen.sh --prefix=/usr/local
Next, start the build process with the following commands:
make get-monolite-latest
make EXTERNAL_MCS="${PWD}/mcs/class/lib/monolite/gmcs.exe"
make
Everything is ready for the final command, which will take the most time:
make install
Installing TShock

If you want details on TShock, you can visit the official project page at https://tshock.co. For direct download, go to the project’s GitHub repo, click on Releases, and view all TShock versions.
Right-click the link for the latest version and copy the link. If there isn’t a version for the latest Terraria, be patient, they will upload it soon. If you have the skills, you can always download the source code and build the latest unreleased version.
Before we begin, let's go to the home folder of the current user with the command:
cd ~
Create a folder for TShock and enter it:
mkdir tshock
cd tshock
Download TShock from the copied link with the command:
wget https://github.com/NyxStudios/TShock/releases/download/v4.3.7/tshock_4.3.7-pre1.zip
If you get a message saying wget is not recognized, install it with the command:
yum install wget
All that’s left is to unzip the downloaded file with the command:
unzip tshock_4.3.7-pre1.zip
Replace tshock_4.3.7-pre1.zip with the latest version of the zip file you downloaded.
Running TShock
Initially, you need to grant execution permissions to Terraria.exe with the command:
chmod +x Terraria.exe
Now you can run the server with the command:
mono Terraria.exe
Extra Step
Congratulations! You now have a fully operational Terraria server. But what happens when you close the terminal or your SSH client? Naturally, the server will close too.
You can use an extremely simple script to keep the server running even if you close the terminal/SSH client by using the detach feature.
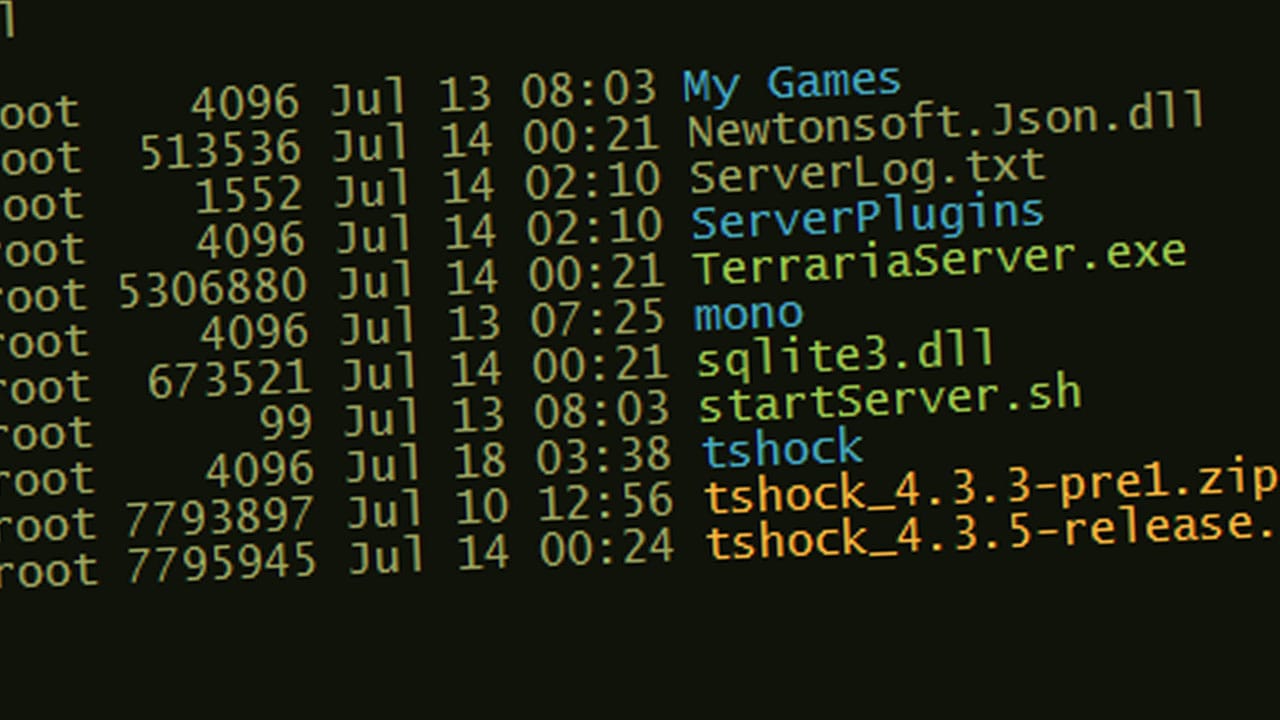
Create a file named startServer.sh (it doesn’t have to be this name) and write inside:
#!/bin/sh
echo "Starting Server"
sleep 1
screen -A -m -d -S TerrariaServer mono TerrariaServer.exe
As before, you need to give execution permissions with the command:
chmod +x startServer.sh
Now instead of running TerrariaServer.exe, run startServer.sh:
./startServer.sh
As you noticed, no screen opened. To view the server screen, type:
screen -r TerrariaServer
The familiar TShock screen is open again. Do whatever you need to, and before closing the terminal/SSH client, MAKE SURE to detach by pressing: Ctrl + A + D
